Millets National Media Portal

Growing Millets Made Easy: A Step-by-Step Guide for Gardeners

Growing Millets Made Easy: A Step-by-Step Guide for Gardeners

Growing Millets Made Easy: A Step-by-Step Guide for Gardeners


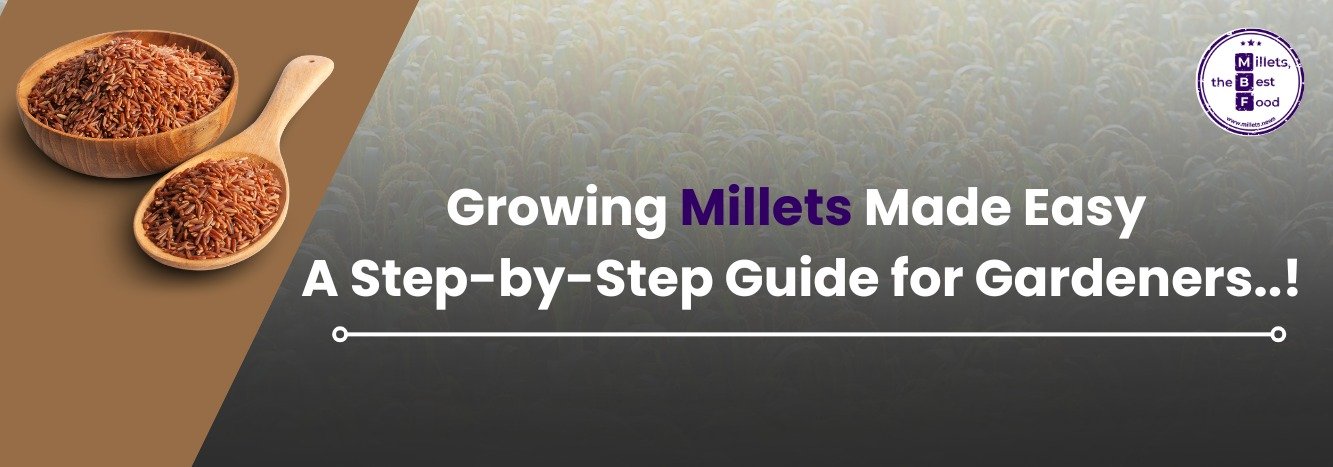
Millets are easy-to-grow grains that are healthy and good for the planet. They don’t need much water or rich soil, making them perfect for home gardens. Here’s how to grow them step by step.

Why Grow Millets?

Millets are tough, need little care, and give you nutritious grains to eat. They’re great for eco-friendly gardening.

Steps to Grow Millets

  1. Pick a Type
    • Pearl Millet: Grows tall, loves heat.
    • Foxtail Millet: Small, quick, easy for beginners.
    • Finger Millet (Ragi): Needs warm weather, makes tasty flour.
    • Proso Millet: Fast, grows in cooler places.
    • Little Millet: Tiny and simple to grow.
  2. Find a Sunny Spot
    Choose a place with lots of sun (6-8 hours) and soil that drains well.
  3. Get the Soil Ready
    Loosen the dirt with a shovel. Add compost if it’s poor, but don’t overdo it.
  4. Plant the Seeds
    Sow in spring or summer when it’s warm (above 65°F). Put seeds ½ inch deep, 10-12 inches apart, and water lightly.
  5. Water a Little
    Water once a week until they grow strong. After that, they’re fine with less.
  6. Pull Weeds
    Remove weeds early so millets can grow better. Birds might eat grains later—use netting if needed.
  7. Harvest Time
    Cut the stalks when seed heads turn dry and golden (60-120 days, depending on type). Dry them, then shake out the grains.

Easy Care Tips

  • Thin crowded plants to 4-6 inches apart.
  • Don’t use much fertilizer—only if they grow slowly.
  • Store grains in a jar in a cool, dry place.

Enjoy Your Millets

Cook them whole, make flour, or try porridge. You grew your own food—awesome!


© 2023 - 2025 Millets News. All rights reserved.